Being the coldest Canberra winter in 10 years I have not done much bonsai of late, but I finally have something to write about this Japanese Maple (Acer Palmatum)! In July 2010 (Winter), I purchased this and another Japanese Maple from a field growing friend in the beautiful country town of Robertson, in the Southern Highlands of NSW. Considering I was born in 1986, I am pretty stoked to have a couple of trees from 1992.
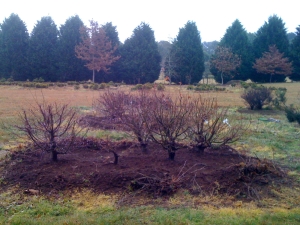 The trees pre-digging.
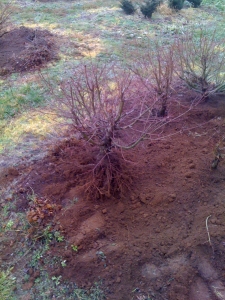 Dug from the ground and most of the field soil shaken off.
 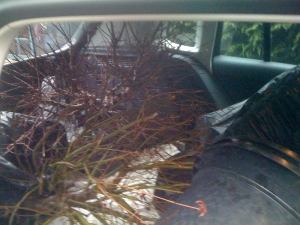 The month old VW Tiguan that didn’t expect to be stuffed to the roof full of stock trees.
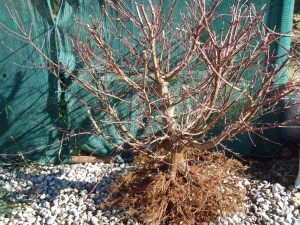 Once home, I washed the tree’s roots and assessed the possible fronts.
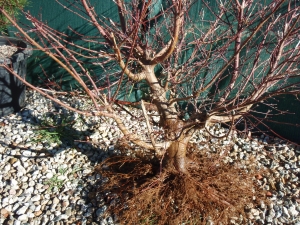 A bit hard to see a good front with the large sacrifice branches.
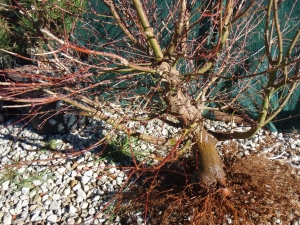 Somewhere around here looks good.
 Spring 2011, it was repotted again. No pics unfortunately, but great root growth from the Boon mix used. The tree is the one on left of the photo post trimming and repotting.
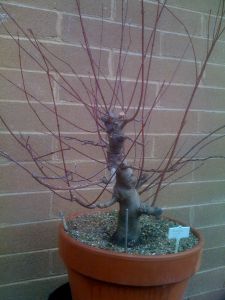 After another year of much improved growth, using about twice the amount of fertiliser I used previously, it was time for another trim. Mainly to remove and replace the scarred top of the tree. I think this is the front…
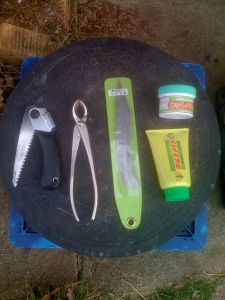 The tools that I used for the cut back. Left to right – Folding saw, Concave cutters, Grafting Knife, Tub of putty cut paste, and Liquid form cut paste.
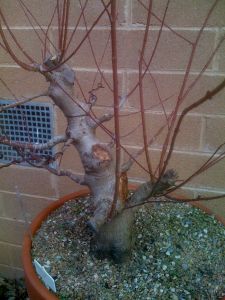 Right side – You can see the disadvantage of using large sacrifice branches, scars. With strong growth and time, they will heal, I think maybe another 5 or so years will close them up. The greater the growth (the more sap flow around the edges of the wounds), the quicker the wounds will heal.
Left side – More scars. There are still a number of large branches to come off. Rightly or wrongly, I am delaying the removal of some of them. The aim is to ensure that the new branches get a chance to keep the tree growing strongly. The remaining large branches will probably come off in Autumn (March-May 2013).
 Close up of the front.
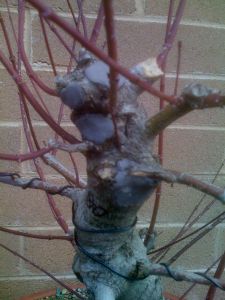 Close up of the scarred top section targeted for removal.
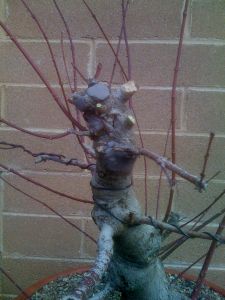 A quick trim, the make it easier to get the saw in.
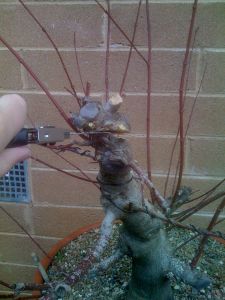 Removal of the top scarred section.
 You will notice that I have left a large scar below the last cut. The reason is that I planned to thread graft a new leader and want to keep some growth above the graft point.
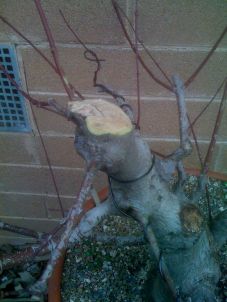
I clean up the edges of the saw cut with a grafting knife.
Then applied the liquid form cut paste.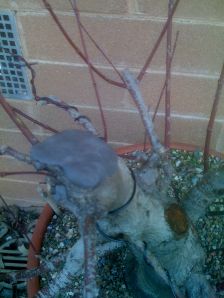 After letting the liquid cut paste dry, I applied the putty cut paste from the tub.
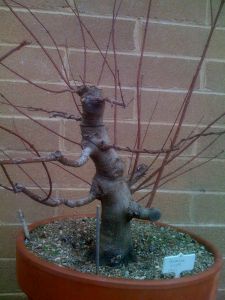 Ready for a water and set back on the bench.
 About a month or so later I got another weekend free for bonsai, so I decided to do the thread grafts.
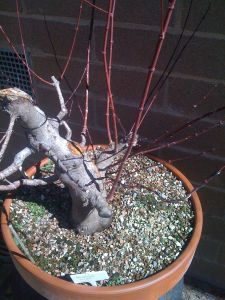
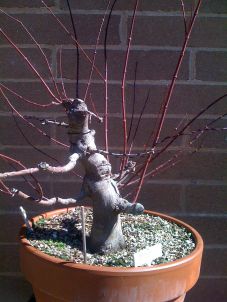 You can see some of the planned drill points in black marker.
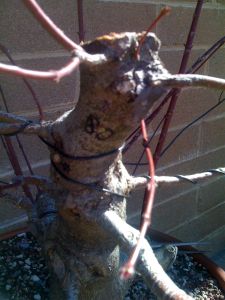 Hole drilled.
New apex threaded through. One point that I’d like to mention, is that the first time I tried thread grafting I drilled a hole too small and pulled off most of the buds from the donor branch as I pulled it through. I ensured I used a bigger drill bit this time, and secured the new apex with wire.
You can still see that large scar above the point at which I did the thread graft. One branch threaded through on the left.
Another branch threaded through on the right. As the process is extremely fiddley and I did not have a photographer, I did not capture it but I scraped the top of the cambium of the donor branch, and packed the hole with slithers of wood so that the two cambiums matched up, as well as practical.
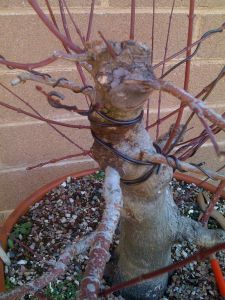
 The tree with the three finished grafts.
You will note that I have used wire to secure all of the grafts. The key with grafting is to ensure a tight fit, and no movement at the graft union. Both the slithers of wood and the wire help in this regard.


Fun project Scott – thanks for sharing!
Nice to see you posting again Scott, Whats the theory behind the two layers of cut-paste?
Just trying to stop the drying and die back as much as possible. I’m not sure that it works any better than the liquid cut paste alone, but it’ll also be getting cut back further when the new leader grows stronger.