Chinese Penjing Society of Canada Exhibition

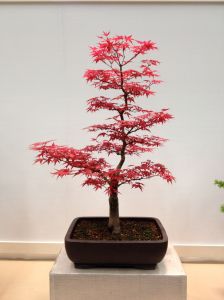
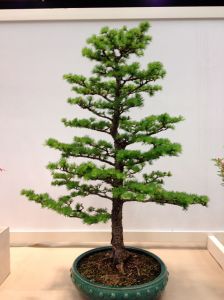
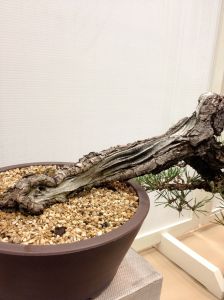
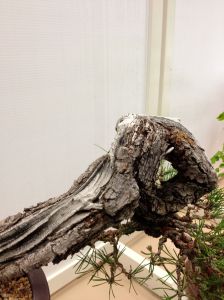
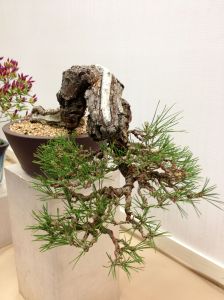
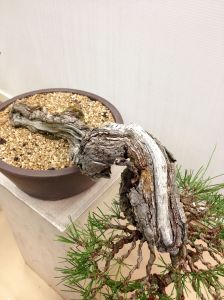
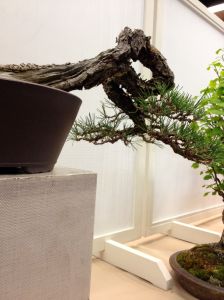
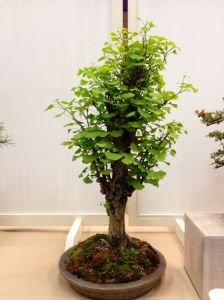
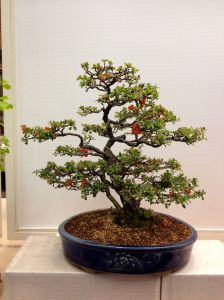
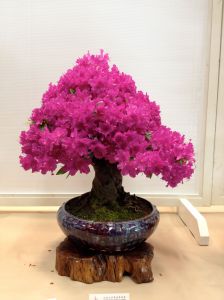
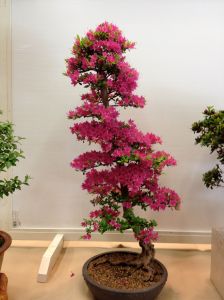
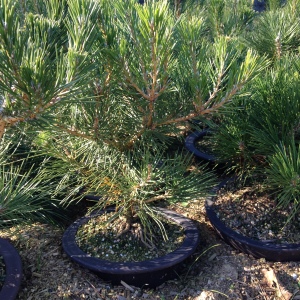
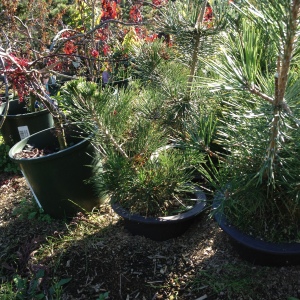
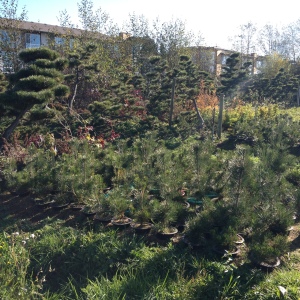
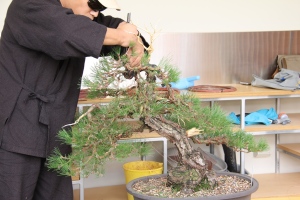
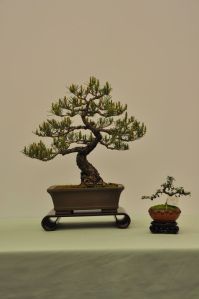
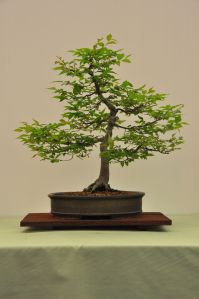
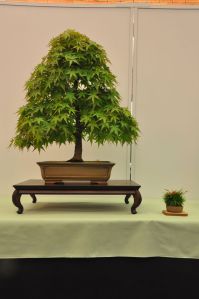
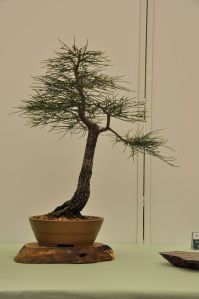
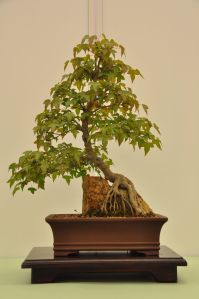
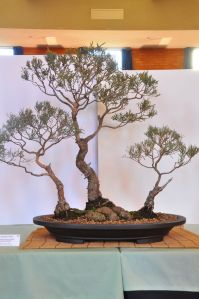
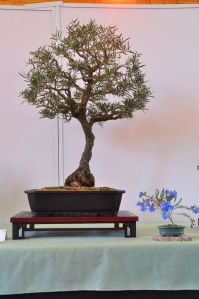
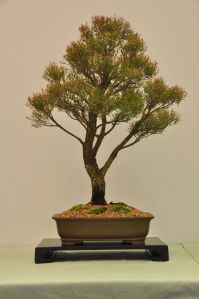
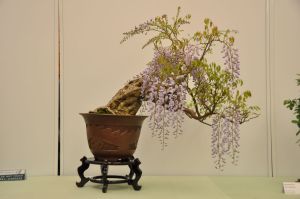
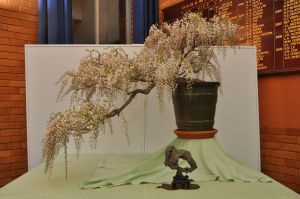
After limited bonsai exposure over the last few months, it was good to get a little Penjing into the system today. I found my way over to VanDusen Botanical Gardens for the Chinese Penjing Society of Canada Exhibition.

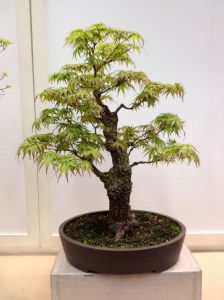
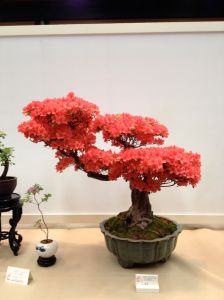
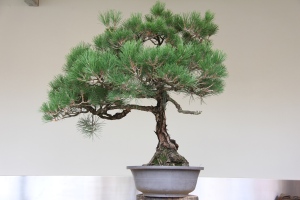
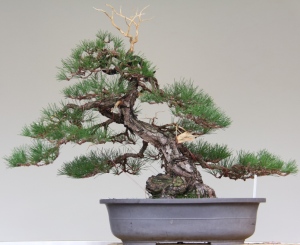
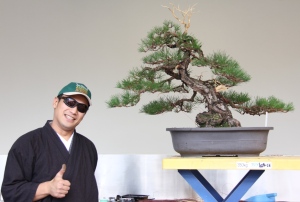
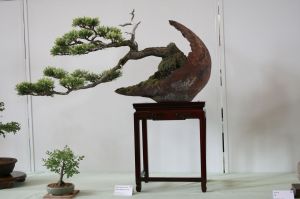
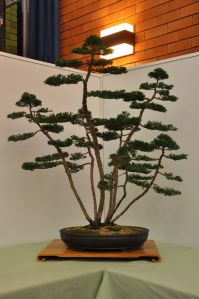
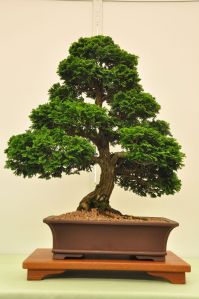
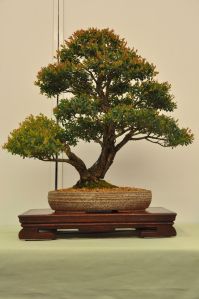
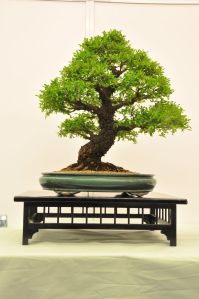
While I do not really subscribe to the Penjing way of styling, I do appreciate a good tree in a pot. This is not an exhaustive account of the trees that were there, but I think I captured the best ones.

IMG_2052

IMG_2053

IMG_2054

IMG_2055

IMG_2056

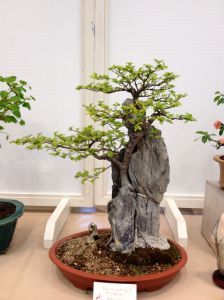
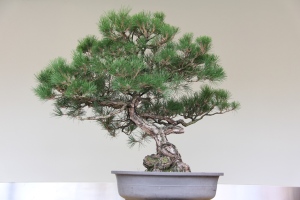
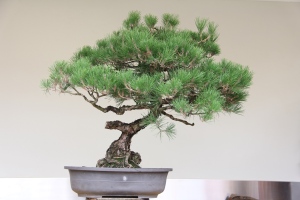
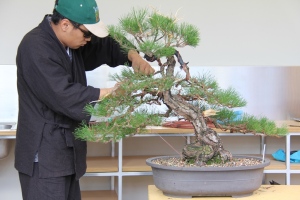
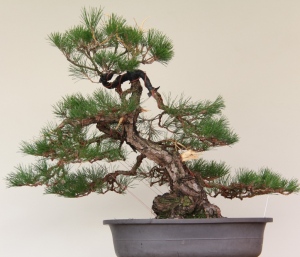
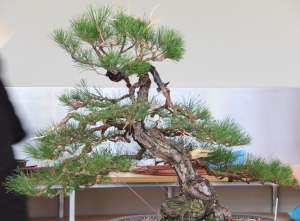
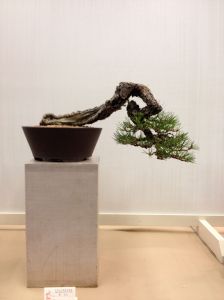
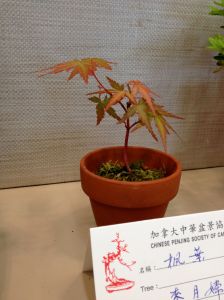
My favourite tree of the show, definitely has a bonsai feel about it…
IMG_2057

IMG_2058

IMG_2059

IMG_2060

IMG_2061

IMG_2063

IMG_2064

IMG_2065

IMG_2070

IMG_2067

IMG_2068

IMG_2069

IMG_2073

IMG_2071

IMG_2072

IMG_2077

IMG_2076

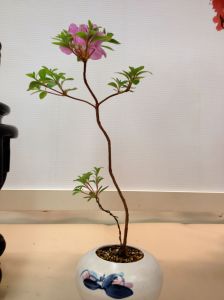
…And one to show that even a seedling with little to no training can capture the feeling of great beauty.
IMG_2075

JBP Shohin growing at Japan Bonsai, White Rock B.C.

Following on from the last post here are some pics of probably my favourite bonsai at the moment, future JBP Shohin bonsai:

I have talked before about how I have started seedling JBPs destined for shohin bonsai, but as always Jonas shows it much clearer.

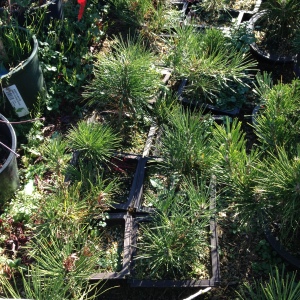
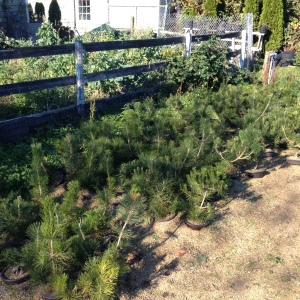
These JBP were started destined for Shohin bonsai and are a little older than the ones I have going. It shows the stock that you can get in around 3-7 years of growth if you put the effort in.

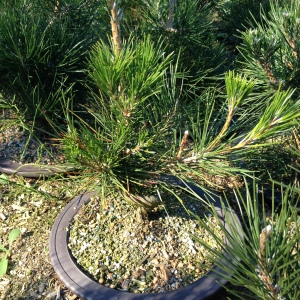
After the seedling cutting and repotting into larger individual containers the first few years is almost free growth. these seedlings appear to be around 3-4 years old

JBP_Shohin_001

JBP_Shohin_002

JBP_Shohin_009

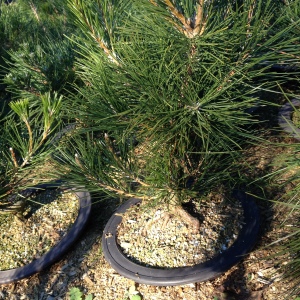
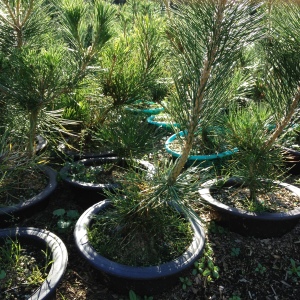
The nursery has let the roots of the potted seedlings grow into the loose soil/sand in the growing fields. The long sacrifice branches at the tops of the seedlings are used to accelerate growth resulting in thickening in the trunks. These seedlings appear to be around 4-6 years old
JBP_Shohin_004 (2)

JBP_Shohin_004

JBP_Shohin_007

JBP_Shohin_005

JBP_Shohin_008

JBP_Shohin_006

JBP_Shohin_003

There were only a few of the older stock JBP left. This one appears to be around 6-7 years old from the appearance of the bark.
JBP_Shohin_005 (2)

Japan Bonsai – Vancouver B.C.

So after a recent move with work to Canada, I have had a bit of bonsai withdrawal! I found what claims to be one of the largest bonsai nurseries in North America only 45mins from our new home.


Japan Bonsai is a 10 acre of bonsai nursery in White Rock B.C. The website is a little informative, if a little lacking in pics of What can be found there. It seems the proprietor Tak Yamaura, studied under Toshio Kawamoto of Meiju-En and creator of the Nippon Bonsai-Saikei Institute and Saikei form. Tak moved to Canada in 1970 and established Japan Bonsai. From the pics that are to come it seems that he immediately started planting shimpaku into the growing field!

Japan Bonsai_001
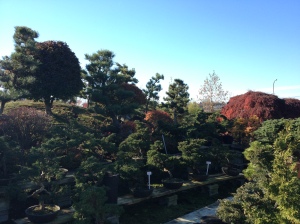
On approach to Japan Bonsai, a teaser of what’s to come!

Japan Bonsai
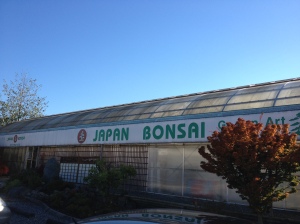
As I stepped out of the car I was greeted with quite a large greenhouse, things are looking promising!

I was met indie the front door by Bruce Burkett, the manager of the nursery. Quite a nice bloke, we had a quick chat about bonsai, but I was keen to see some trees.

IMG_0091
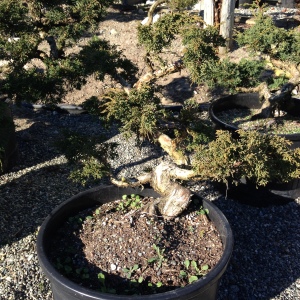
Junipers on the first bench I saw

Nursery_002
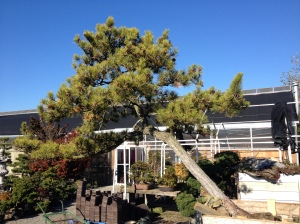
A nice landscape pine

Around the corner then…Wham!
Shimpaku_Pano_001

The stock seemed a reasonable price considering the number of years that have gone into training them, there were 40yr shimpaku that ranged from $500-$1000. There were some really nice twisted ones around the $500 mark, they’d need around 5 years in a pot, a number of chops and shari but they be great little shohin with a little work.

Keeper
I had this on picked out, but I received a chippy-slap from the minister of war and peace, and the remark “We don’t have a yard, you always say people shouldn’t keep them inside”! So I’ve started looking for a place with a yard to rent!

More to come including the Growing Fields, JBP shohin, False Cypress, and Satsuki.

Japanese Black Pine 2012 Seedlings

After finally finding JBP seeds in 2011, I sowed around 400 in Winter 2012.

Around 99% sprouted, and I took around 100 seedling cuttings.

Late Winter/Early spring is the ideal time to be repotting the seedlings.

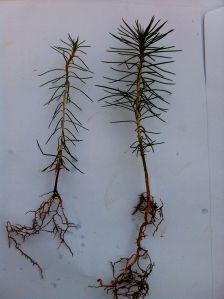
As I have both seedling cuttings and straight seedlings I thought it would be interesting to show the differences between using the technique and just letting them grow freely.

JBP seedling cuttings06
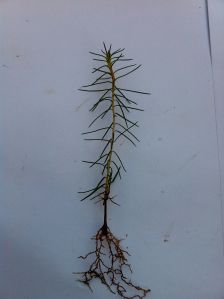
Seedling cutting: Roots
The roots are growing predominantly laterally.

JBP seedling cuttings08
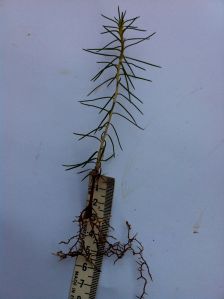
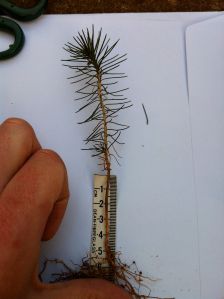
Seedling cutting: The gap between the roots and the first set of needles

JBP seedling cuttings07
The gap between the roots and the first set of needles is around 2.5cm, the seedling cutting is around 12cm long.

JBP seedling cuttings01
Straight seedling: Roots
The roots are growing predominantly vertical.

JBP seedling cuttings03
Straight seedling: The gap between the roots and the first set of needles

JBP seedling cuttings02
The gap between the roots and the first set of needles is around 5cm, the straight seedling is around 15cm long. Significantly larger, stemming from the undisturbed growth, probably around an extra four months.

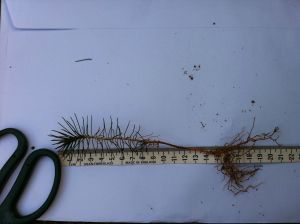
JBP seedling cuttings09
Comparison picture of the two, demonstrating the difference between the seedling cutting on the left, and the straight seedling on the right.

JBP seedling cuttings10
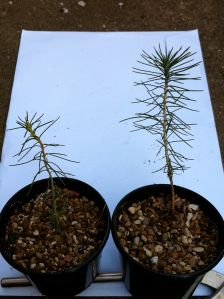
The seedling cutting and the straight seedling potted up.

Both seedlings are useful for bonsai, and it is easy to see why commercial nurseries do not use the seedling cutting technique. The aim for commercial nurseries is to get the most salable material to market as quickly as possible. However, it is good to see some high quality nurseries applying the technique to good effect.

Neil at Shibui bonsai has devised a variation to the technique that produces two for one trees! Check out the links above for more.

Watch this space for updates on these seedlings, my aim is to get some quality small shohin trees in 5 years, and some quality larger shohin in 7. It might be an optimistic time frame, but we have to aim high to improve our bonsai!

1974 Japanese Black Pine Rework – National Bonsai and Penjing Collection of Australia

Recently, Australian Bonsai has been lucky to have Yusuke Uchida (Uchi) visit our shores. Uchi has worked as a bonsai apprentice in Japan, most recently at Aichi-en in Nagoya (the current home of Peter Tea), and has come to Australia to share his knowledge.

After spending some time in Melbourne, Uchi made his way to Canberra to stay with me. Uchi favourite tree is JBP, so the National Bonsai and Penjing Collection of Australia’s (NBPCA) interim curator Grant provided this 1974 JBP for styling. The tree was grown for seed in 1974 and has been in bonsai culture ever since. The past few years have seen the tree regaining it’s former strength so it could be restyled in the future by an international visitor.

1 Yusuke Selected front

2 Yusuke Selected left

3 Yusuke Selected back

4 Yusuke examining prior to wiring

5 Yusuke Careful work

6 Yusuke Low branch wired

7 Yusuke next branch

8 Yusuke Hmmm...wired and in place

9 Yusuke The branch that caused a rethink

10 Yusuke apex bent around in semi circle

11 Yusuke New apex has a branch at back that is brought down,

12 Yusuke sideview of branch

13 Yusuke 1st branch bent down

14 Yusuke wired and in place

15 Yusuke apex being fine wired

16 Yusuke apex almost finished

17 Yusuke finished

18 Yusuke pleased

Thanks to Grant at the NBPCA for the use of the images.

Acer Palmatum ‘Arakawa’ cuttings update

I thought that I would post a quick update to this post on the rough bark maple cuttings that I did last year.

Arakawa good performers group
Here is a select group of the good performers. Spring growth has been good and has enabled me to lightly wire the tender trunks to get in some low movement.

Arakawa 3
One of the good performers

Arakawa 2
Another of the good performers

Arakawa 1
And another

Arakawa poor performers group
A couple of the cuttings have not grown as well as the others this season so they have not been wired, just watered, fertilised and let grow.

Arakawa poor performer
One of the poor performers.

Of the roughly 50 or so cuttings that struck, I have had a few die after potting up so had about 40 left. A number of friends expressed interest in them so now have about 20 left.

Send me an email if you are interested in one at $35 each.

2012 Canberra Bonsai Society Show.

Just a quick one, mostly pictures.

The weekend of the 13th and 14th October, the Canberra Bonsai Society held its annual show. Here are some of the trees that were displayed.

People’s choice award – Cedrus Deodara Aurea – Golden Himalayan CedarPeople’s choice 2nd runner-up – Juniperus Chinensis Sargentii – Shimpaku

People’s choice 3rd runner-up – Chaemaecyparis Obtusa Nana- Dwarf Hinoki CypressMy favourite tree of the show – a Shohin Buxus Microphylla – Kingsville box

To see last years display:

https://aijoubonsai.wordpress.com/2011/10/20/2011-canberra-bonsai-society-show/

Acer Palmatum cut back and thread graft

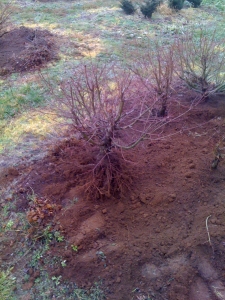
Being the coldest Canberra winter in 10 years I have not done much bonsai of late, but I finally have something to write about this Japanese Maple (Acer Palmatum)! In July 2010 (Winter), I purchased this and another Japanese Maple from a field growing friend in the beautiful country town of Robertson, in the Southern Highlands of NSW. Considering I was born in 1986, I am pretty stoked to have a couple of trees from 1992.
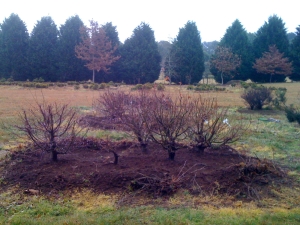
The trees pre-digging.
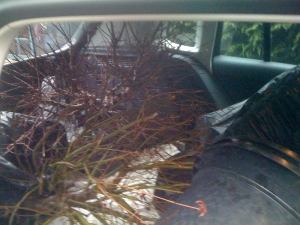
Dug from the ground and most of the field soil shaken off. The month old VW Tiguan that didn’t expect to be stuffed to the roof full of stock trees.
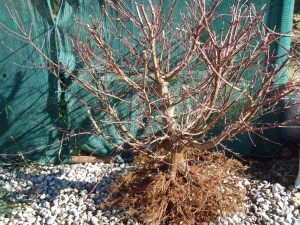
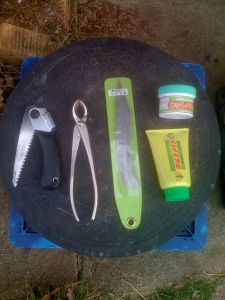
Once home, I washed the tree’s roots and assessed the possible fronts.A bit hard to see a good front with the large sacrifice branches.Somewhere around here looks good.Spring 2011, it was repotted again. No pics unfortunately, but great root growth from the Boon mix used. The tree is the one on left of the photo post trimming and repotting.After another year of much improved growth, using about twice the amount of fertiliser I used previously, it was time for another trim. Mainly to remove and replace the scarred top of the tree. I think this is the front…The tools that I used for the cut back. Left to right – Folding saw, Concave cutters, Grafting Knife, Tub of putty cut paste, and Liquid form cut paste.
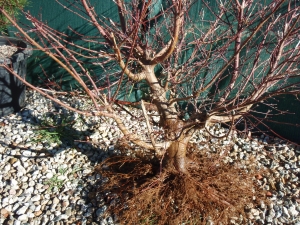
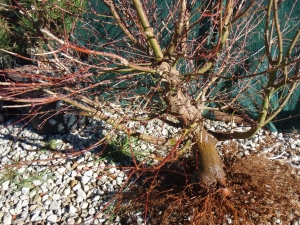
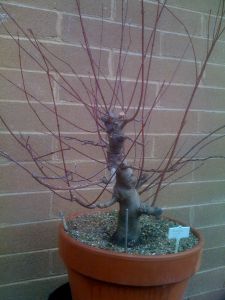
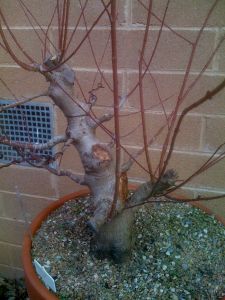
Right side – You can see the disadvantage of using large sacrifice branches, scars. With strong growth and time, they will heal, I think maybe another 5 or so years will close them up. The greater the growth (the more sap flow around the edges of the wounds), the quicker the wounds will heal.  

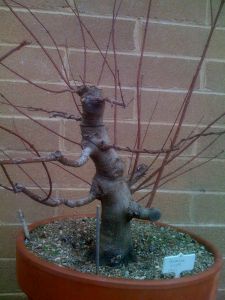
Left side – More scars. There are still a number of large branches to come off. Rightly or wrongly, I am delaying the removal of some of them. The aim is to ensure that the new branches get a chance to keep the tree growing strongly. The remaining large branches will probably come off in Autumn (March-May 2013).

Close up of the front.Close up of the scarred top section targeted for removal.A quick trim, the make it easier to get the saw in.Removal of the top scarred section.
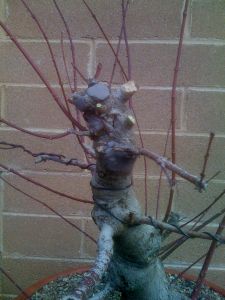
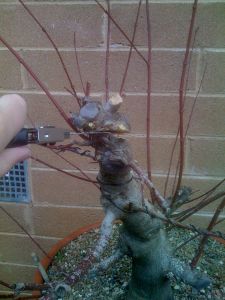
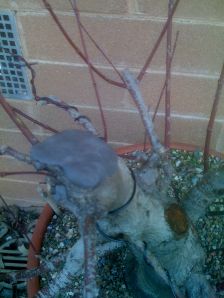
You will notice that I have left a large scar below the last cut. The reason is that I planned to thread graft a new leader and want to keep some growth above the graft point.
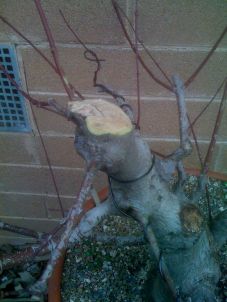
I clean up the edges of the saw cut with a grafting knife.

Then applied the liquid form cut paste.After letting the liquid cut paste dry, I applied the putty cut paste from the tub.Ready for a water and set back on the bench.
About a month or so later I got another weekend free for bonsai, so I decided to do the thread grafts.
You can see some of the planned drill points in black marker.Hole drilled.
New apex threaded through. One point that I’d like to mention, is that the first time I tried thread grafting I drilled a hole too small and pulled off most of the buds from the donor branch as I pulled it through. I ensured I used a bigger drill bit this time, and secured the new apex with wire.
You can still see that large scar above the point at which I did the thread graft. One branch threaded through on the left.

Another branch threaded through on the right. As the process is extremely fiddley and I did not have a photographer, I did not capture it but I scraped the top of the cambium of the donor branch, and packed the hole with slithers of wood so that the two cambiums matched up, as well as practical.

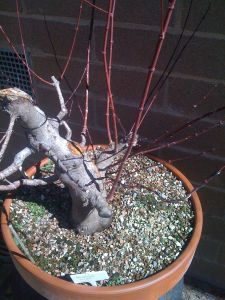
The tree with the three finished grafts.

You will note that I have used wire to secure all of the grafts. The key with grafting is to ensure a tight fit, and no movement at the graft union. Both the slithers of wood and the wire help in this regard.
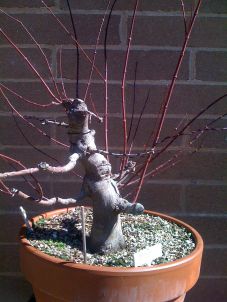
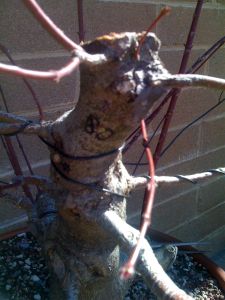
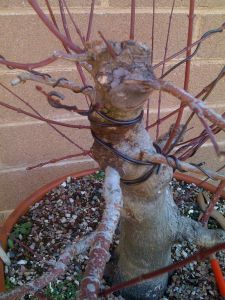
Acer Palmatum ‘Arakawa’ cuttings

Tags

, , ,

Early Spring ’11, my friend was house sitting at a house with a large rough bark japanese maple, Acer Palmatum ‘Arakawa’. Since I have not seen any bonsai ‘Arakawa’ maples in Australia, I decided that I needed to propagate some from cuttings. My aim in the end is to have some ‘Arakawa’ maples with large ‘plate-like’ nebari – inspired by Ebihara.
I didn’t take any pics of the ‘cutting’ process, but I struck them in one of two mixes, the usual way. The first mix was pumice and akadama fines and a little sphagnum, the other was pumice and chopped Sphagnum. I’d have to say that the Pumice/Akadama mix produced the better roots, but took more work to keep moist in Summer.

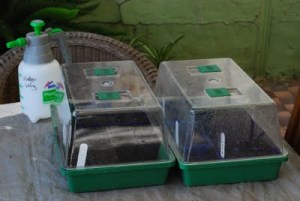
This year I decided to use a number of commercially available mini green houses rather than the usual plastic bottle. It made it far easier to monitor humidity and the number of cuttings that struck showed that it was a worth while investment.

Edit:- a pic of the mini green houses that I used

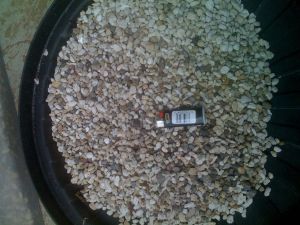
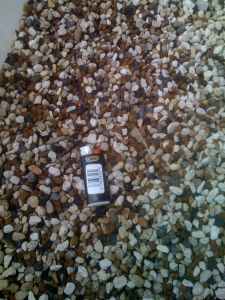
Even though I don’t smoke, I still have the quintessential bonsai measuring stick.

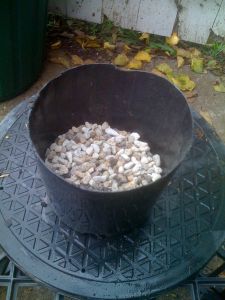
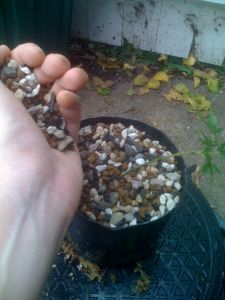
I used graded pumice in the bottom of the pot, then half filled the pot with a graded mix of Akadama and pumice.

Graded akadama and pumice mix

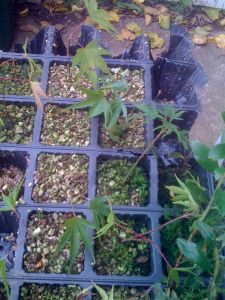
Out of the cutting tray

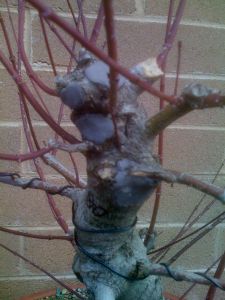
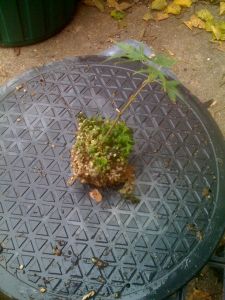
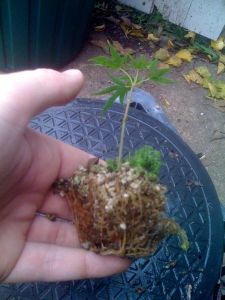
Reasonable root growth, not ideal though.

Hard to see, but this cutting has a one-sided ‘root ball’. Definitely a problem in a future bonsai, but root work each year will see more roots emerge from the callus.

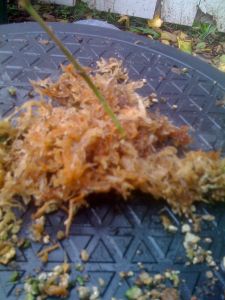
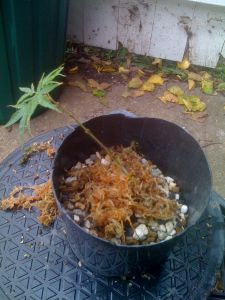
Cutting sitting in the pot ready for more soil.

Filling the pot

Tamping the soil

Done. I potted some into a coarse mix to observe the effect it would have on the growth, I have been told that a coarse mix leads to coarse/stronger growth due to more air being present in the mix. We’ll see if it makes a difference.

A good watering until the pots run clear

10 down,  50 more to go.