• About
  • For sale

Aijou Bonsai

Category Archives: Uncategorized

Chinese Penjing Society of Canada Exhibition

12 Monday May 2014

Posted by Scott Roxburgh in Uncategorized

≈ Leave a comment

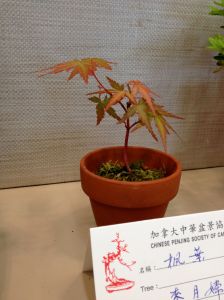
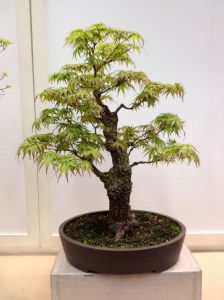
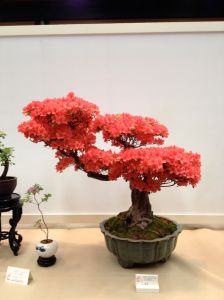
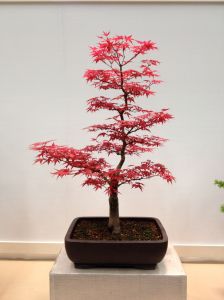
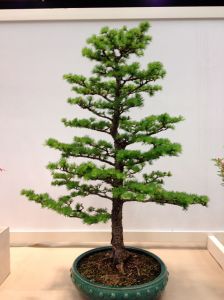
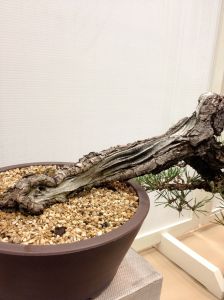
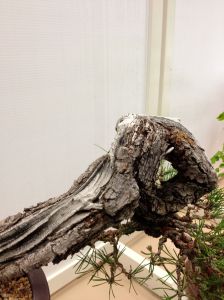
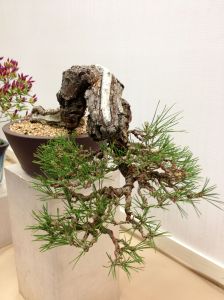
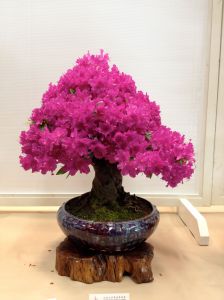
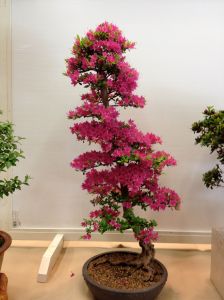
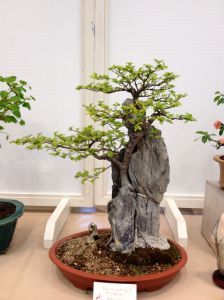
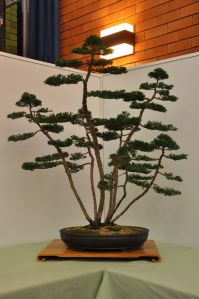
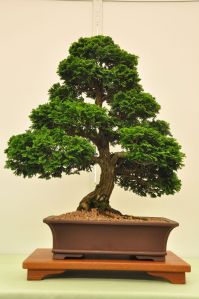
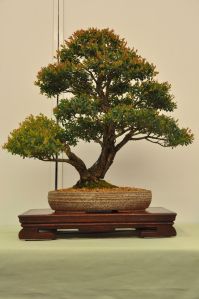
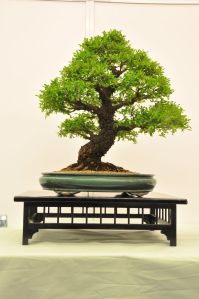
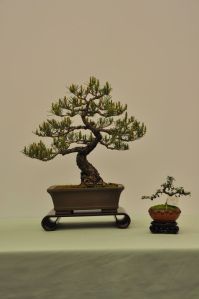
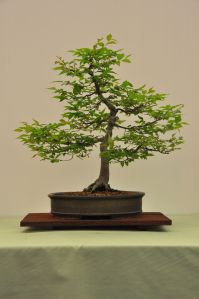
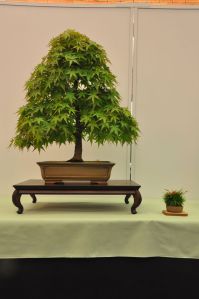
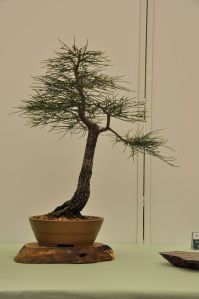
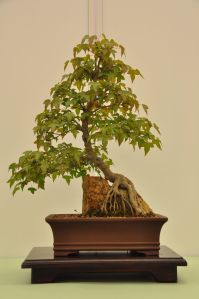
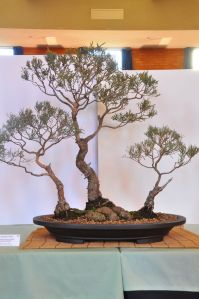
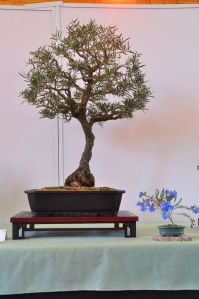
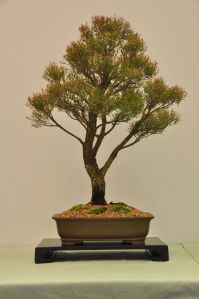
After limited bonsai exposure over the last few months, it was good to get a little Penjing into the system today. I found my way over to VanDusen Botanical Gardens for the Chinese Penjing Society of Canada Exhibition.

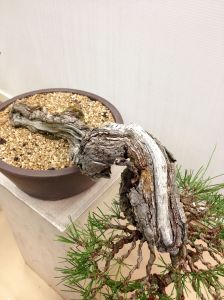
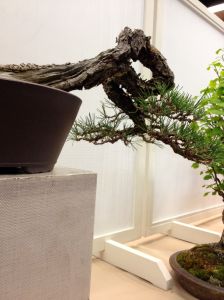
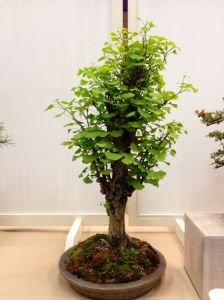
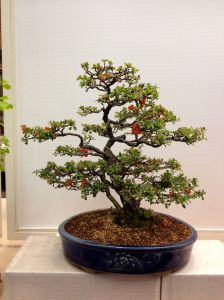
While I do not really subscribe to the Penjing way of styling, I do appreciate a good tree in a pot. This is not an exhaustive account of the trees that were there, but I think I captured the best ones.

IMG_2052

IMG_2053

IMG_2054

IMG_2055

IMG_2056

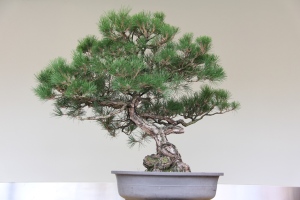
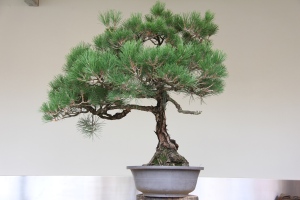
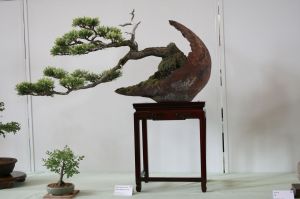
My favourite tree of the show, definitely has a bonsai feel about it…
IMG_2057

IMG_2058

IMG_2059

IMG_2060

IMG_2061

IMG_2063

IMG_2064

IMG_2065

IMG_2070

IMG_2067

IMG_2068

IMG_2069

IMG_2073

IMG_2071

IMG_2072

IMG_2077

IMG_2076

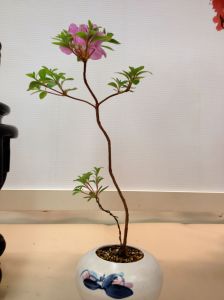
…And one to show that even a seedling with little to no training can capture the feeling of great beauty.
IMG_2075

Fagus grandifolia

14 Saturday Dec 2013

Posted by Scott Roxburgh in Uncategorized

≈ Leave a comment

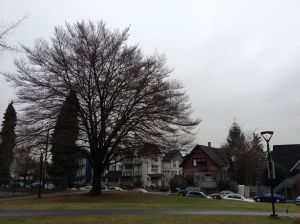
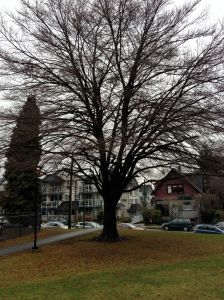
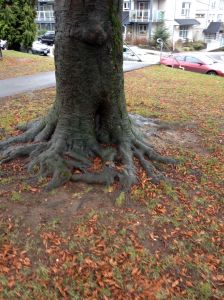
After brunch this morning I spotted this large Fagus in a park on Commercial drive.
Fagus_Commercial_Drive_4
It is great inspiration for deciduous bonsai.

The outline and branch structure is great
Fagus_Commercial_Drive_1
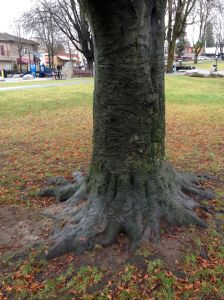
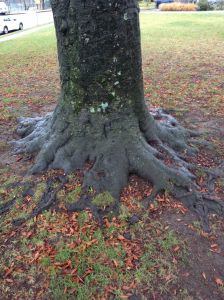
…But the roots are where it is at!
Fagus_Commercial_Drive_8

Fagus_Commercial_Drive_7

Fagus_Commercial_Drive_6
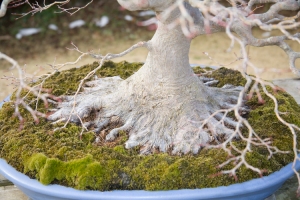
Very reminiscent of some of the great maple nebari in Japan.
Bay Island Bonsai 2008

JBP Shohin growing at Japan Bonsai, White Rock B.C.

03 Sunday Nov 2013

Posted by Scott Roxburgh in Uncategorized

≈ Leave a comment

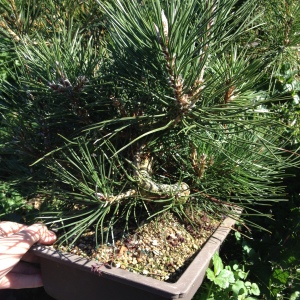
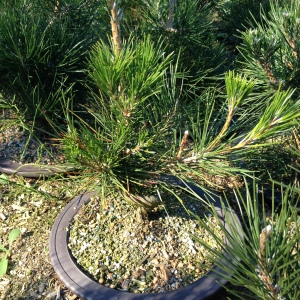
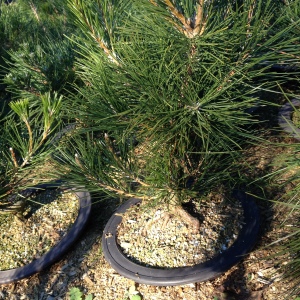
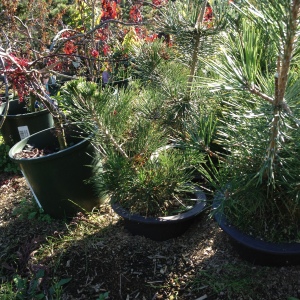
Following on from the last post here are some pics of probably my favourite bonsai at the moment, future JBP Shohin bonsai:

I have talked before about how I have started seedling JBPs destined for shohin bonsai, but as always Jonas shows it much clearer.

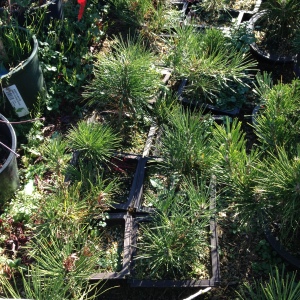
These JBP were started destined for Shohin bonsai and are a little older than the ones I have going. It shows the stock that you can get in around 3-7 years of growth if you put the effort in.

After the seedling cutting and repotting into larger individual containers the first few years is almost free growth. these seedlings appear to be around 3-4 years old

JBP_Shohin_001

JBP_Shohin_002

JBP_Shohin_009

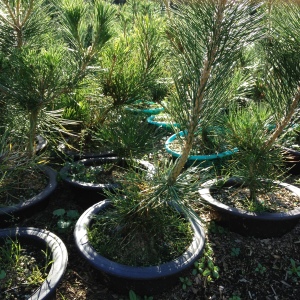
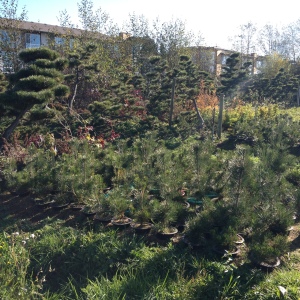
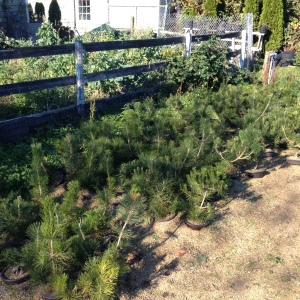
The nursery has let the roots of the potted seedlings grow into the loose soil/sand in the growing fields. The long sacrifice branches at the tops of the seedlings are used to accelerate growth resulting in thickening in the trunks. These seedlings appear to be around 4-6 years old
JBP_Shohin_004 (2)

JBP_Shohin_004

JBP_Shohin_007

JBP_Shohin_005

JBP_Shohin_008

JBP_Shohin_006

JBP_Shohin_003

There were only a few of the older stock JBP left. This one appears to be around 6-7 years old from the appearance of the bark.
JBP_Shohin_005 (2)

Japan Bonsai – Vancouver B.C.

30 Wednesday Oct 2013

Posted by Scott Roxburgh in Uncategorized

≈ Leave a comment

So after a recent move with work to Canada, I have had a bit of bonsai withdrawal! I found what claims to be one of the largest bonsai nurseries in North America only 45mins from our new home.


Japan Bonsai is a 10 acre of bonsai nursery in White Rock B.C. The website is a little informative, if a little lacking in pics of What can be found there. It seems the proprietor Tak Yamaura, studied under Toshio Kawamoto of Meiju-En and creator of the Nippon Bonsai-Saikei Institute and Saikei form. Tak moved to Canada in 1970 and established Japan Bonsai. From the pics that are to come it seems that he immediately started planting shimpaku into the growing field!

Japan Bonsai_001
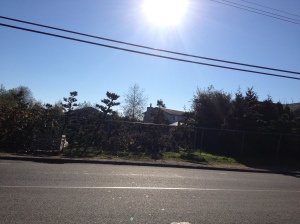
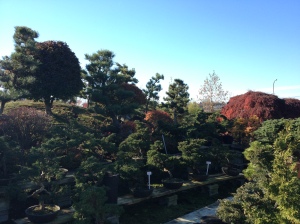
On approach to Japan Bonsai, a teaser of what’s to come!

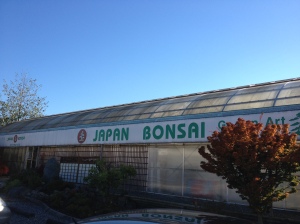
Japan Bonsai
As I stepped out of the car I was greeted with quite a large greenhouse, things are looking promising!

I was met indie the front door by Bruce Burkett, the manager of the nursery. Quite a nice bloke, we had a quick chat about bonsai, but I was keen to see some trees.

IMG_0091
Junipers on the first bench I saw

Nursery_002
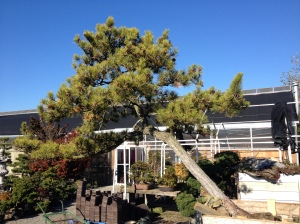
A nice landscape pine

Around the corner then…Wham!
Shimpaku_Pano_001

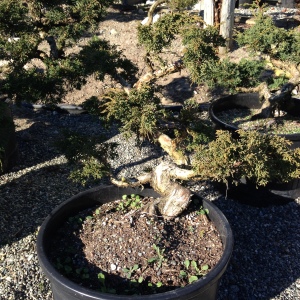
The stock seemed a reasonable price considering the number of years that have gone into training them, there were 40yr shimpaku that ranged from $500-$1000. There were some really nice twisted ones around the $500 mark, they’d need around 5 years in a pot, a number of chops and shari but they be great little shohin with a little work.

Keeper
I had this on picked out, but I received a chippy-slap from the minister of war and peace, and the remark “We don’t have a yard, you always say people shouldn’t keep them inside”! So I’ve started looking for a place with a yard to rent!

More to come including the Growing Fields, JBP shohin, False Cypress, and Satsuki.

Japanese Black Pine 2012 Seedlings

07 Saturday Sep 2013

Posted by Scott Roxburgh in Uncategorized

≈ Leave a comment

After finally finding JBP seeds in 2011, I sowed around 400 in Winter 2012.

Around 99% sprouted, and I took around 100 seedling cuttings.

Late Winter/Early spring is the ideal time to be repotting the seedlings.

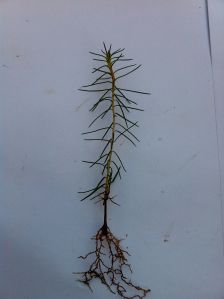
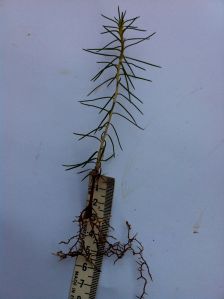
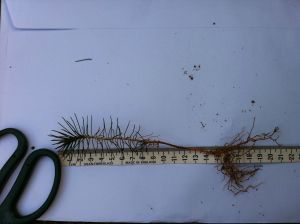
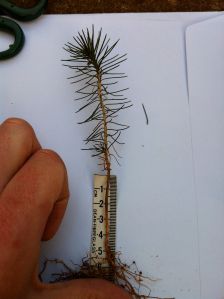
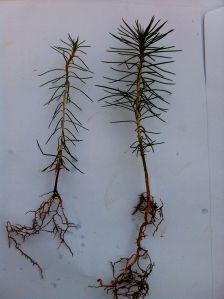
As I have both seedling cuttings and straight seedlings I thought it would be interesting to show the differences between using the technique and just letting them grow freely.

JBP seedling cuttings06
Seedling cutting: Roots
The roots are growing predominantly laterally.

JBP seedling cuttings08
Seedling cutting: The gap between the roots and the first set of needles

JBP seedling cuttings07
The gap between the roots and the first set of needles is around 2.5cm, the seedling cutting is around 12cm long.

JBP seedling cuttings01
Straight seedling: Roots
The roots are growing predominantly vertical.

JBP seedling cuttings03
Straight seedling: The gap between the roots and the first set of needles

JBP seedling cuttings02
The gap between the roots and the first set of needles is around 5cm, the straight seedling is around 15cm long. Significantly larger, stemming from the undisturbed growth, probably around an extra four months.

JBP seedling cuttings09
Comparison picture of the two, demonstrating the difference between the seedling cutting on the left, and the straight seedling on the right.

JBP seedling cuttings10
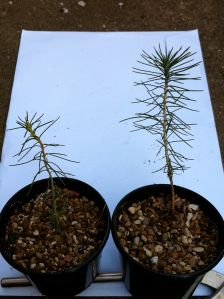
The seedling cutting and the straight seedling potted up.

Both seedlings are useful for bonsai, and it is easy to see why commercial nurseries do not use the seedling cutting technique. The aim for commercial nurseries is to get the most salable material to market as quickly as possible. However, it is good to see some high quality nurseries applying the technique to good effect.

Neil at Shibui bonsai has devised a variation to the technique that produces two for one trees! Check out the links above for more.

Watch this space for updates on these seedlings, my aim is to get some quality small shohin trees in 5 years, and some quality larger shohin in 7. It might be an optimistic time frame, but we have to aim high to improve our bonsai!

1974 Japanese Black Pine Rework – National Bonsai and Penjing Collection of Australia

19 Friday Apr 2013

Posted by Scott Roxburgh in Uncategorized

≈ Leave a comment

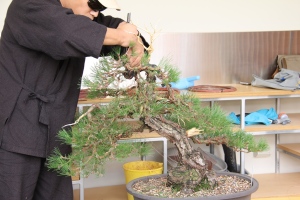
Recently, Australian Bonsai has been lucky to have Yusuke Uchida (Uchi) visit our shores. Uchi has worked as a bonsai apprentice in Japan, most recently at Aichi-en in Nagoya (the current home of Peter Tea), and has come to Australia to share his knowledge.

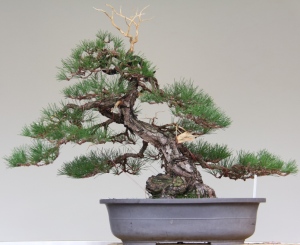
After spending some time in Melbourne, Uchi made his way to Canberra to stay with me. Uchi favourite tree is JBP, so the National Bonsai and Penjing Collection of Australia’s (NBPCA) interim curator Grant provided this 1974 JBP for styling. The tree was grown for seed in 1974 and has been in bonsai culture ever since. The past few years have seen the tree regaining it’s former strength so it could be restyled in the future by an international visitor.

1 Yusuke Selected front

2 Yusuke Selected left

3 Yusuke Selected back

4 Yusuke examining prior to wiring

5 Yusuke Careful work

6 Yusuke Low branch wired

7 Yusuke next branch

8 Yusuke Hmmm...wired and in place

9 Yusuke The branch that caused a rethink

10 Yusuke apex bent around in semi circle

11 Yusuke New apex has a branch at back that is brought down,

12 Yusuke sideview of branch

13 Yusuke 1st branch bent down

14 Yusuke wired and in place

15 Yusuke apex being fine wired

16 Yusuke apex almost finished

17 Yusuke finished

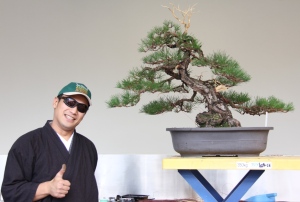
18 Yusuke pleased

Thanks to Grant at the NBPCA for the use of the images.

Acer Palmatum ‘Arakawa’ cuttings update

18 Tuesday Dec 2012

Posted by Scott Roxburgh in Uncategorized

≈ 2 Comments

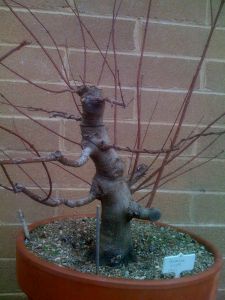
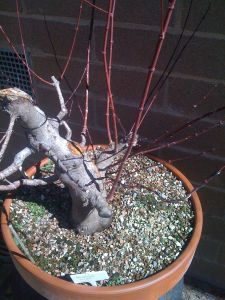
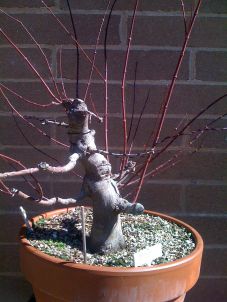
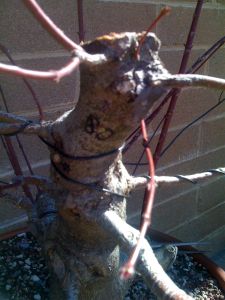
I thought that I would post a quick update to this post on the rough bark maple cuttings that I did last year.

Arakawa good performers group
Here is a select group of the good performers. Spring growth has been good and has enabled me to lightly wire the tender trunks to get in some low movement.

Arakawa 3
One of the good performers

Arakawa 2
Another of the good performers

Arakawa 1
And another

Arakawa poor performers group
A couple of the cuttings have not grown as well as the others this season so they have not been wired, just watered, fertilised and let grow.

Arakawa poor performer
One of the poor performers.

Of the roughly 50 or so cuttings that struck, I have had a few die after potting up so had about 40 left. A number of friends expressed interest in them so now have about 20 left.

Send me an email if you are interested in one at $35 each.

2012 Canberra Bonsai Society Show.

18 Thursday Oct 2012

Posted by Scott Roxburgh in Uncategorized

≈ 1 Comment

Just a quick one, mostly pictures.

The weekend of the 13th and 14th October, the Canberra Bonsai Society held its annual show. Here are some of the trees that were displayed.

People’s choice award – Cedrus Deodara Aurea – Golden Himalayan CedarPeople’s choice 2nd runner-up – Juniperus Chinensis Sargentii – Shimpaku

People’s choice 3rd runner-up – Chaemaecyparis Obtusa Nana- Dwarf Hinoki CypressMy favourite tree of the show – a Shohin Buxus Microphylla – Kingsville box

To see last years display:

https://aijoubonsai.wordpress.com/2011/10/20/2011-canberra-bonsai-society-show/

Acer Palmatum cut back and thread graft

31 Friday Aug 2012

Posted by Scott Roxburgh in Uncategorized

≈ 3 Comments

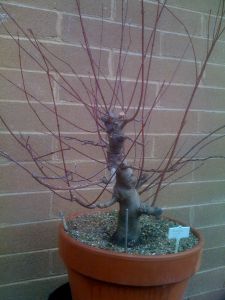
Being the coldest Canberra winter in 10 years I have not done much bonsai of late, but I finally have something to write about this Japanese Maple (Acer Palmatum)! In July 2010 (Winter), I purchased this and another Japanese Maple from a field growing friend in the beautiful country town of Robertson, in the Southern Highlands of NSW. Considering I was born in 1986, I am pretty stoked to have a couple of trees from 1992.

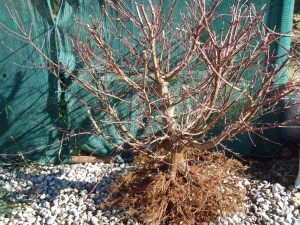
The trees pre-digging.
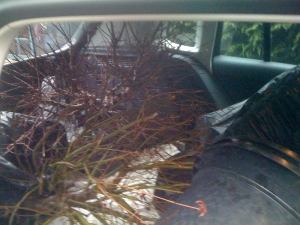
Dug from the ground and most of the field soil shaken off. The month old VW Tiguan that didn’t expect to be stuffed to the roof full of stock trees.
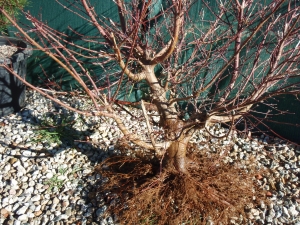
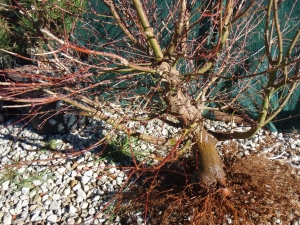
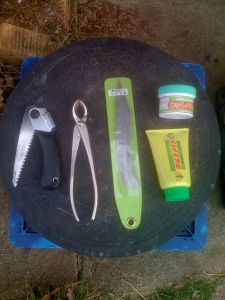
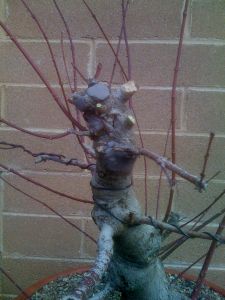
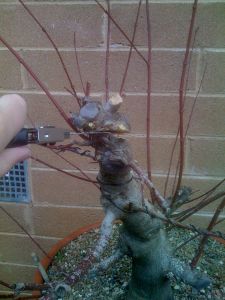
Once home, I washed the tree’s roots and assessed the possible fronts.A bit hard to see a good front with the large sacrifice branches.Somewhere around here looks good.Spring 2011, it was repotted again. No pics unfortunately, but great root growth from the Boon mix used. The tree is the one on left of the photo post trimming and repotting.After another year of much improved growth, using about twice the amount of fertiliser I used previously, it was time for another trim. Mainly to remove and replace the scarred top of the tree. I think this is the front…The tools that I used for the cut back. Left to right – Folding saw, Concave cutters, Grafting Knife, Tub of putty cut paste, and Liquid form cut paste.

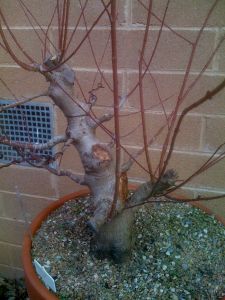
Right side – You can see the disadvantage of using large sacrifice branches, scars. With strong growth and time, they will heal, I think maybe another 5 or so years will close them up. The greater the growth (the more sap flow around the edges of the wounds), the quicker the wounds will heal.  

Left side – More scars. There are still a number of large branches to come off. Rightly or wrongly, I am delaying the removal of some of them. The aim is to ensure that the new branches get a chance to keep the tree growing strongly. The remaining large branches will probably come off in Autumn (March-May 2013).

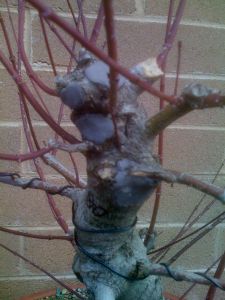
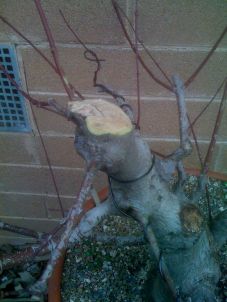
Close up of the front.Close up of the scarred top section targeted for removal.A quick trim, the make it easier to get the saw in.Removal of the top scarred section.

You will notice that I have left a large scar below the last cut. The reason is that I planned to thread graft a new leader and want to keep some growth above the graft point.

I clean up the edges of the saw cut with a grafting knife.

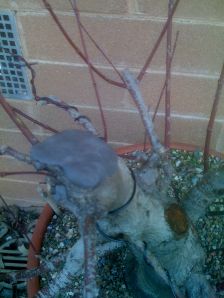
Then applied the liquid form cut paste.After letting the liquid cut paste dry, I applied the putty cut paste from the tub.Ready for a water and set back on the bench.

About a month or so later I got another weekend free for bonsai, so I decided to do the thread grafts.

You can see some of the planned drill points in black marker.Hole drilled.

New apex threaded through. One point that I’d like to mention, is that the first time I tried thread grafting I drilled a hole too small and pulled off most of the buds from the donor branch as I pulled it through. I ensured I used a bigger drill bit this time, and secured the new apex with wire.

You can still see that large scar above the point at which I did the thread graft. One branch threaded through on the left.

Another branch threaded through on the right. As the process is extremely fiddley and I did not have a photographer, I did not capture it but I scraped the top of the cambium of the donor branch, and packed the hole with slithers of wood so that the two cambiums matched up, as well as practical.

The tree with the three finished grafts.

You will note that I have used wire to secure all of the grafts. The key with grafting is to ensure a tight fit, and no movement at the graft union. Both the slithers of wood and the wire help in this regard.

Japanese Black Pine Autumn Needle Work

10 Tuesday Apr 2012

Posted by Scott Roxburgh in Techniques, Uncategorized

≈ 1 Comment

Tags

Autumn, Bud Selection, Clean up, Fall, JBP, Needle, Pine, Pulling, Technique

I recently presented a talk on Autumn Needle Work on Japanese Black Pine. Many members of the Canberra Bonsai Society enjoyed the talk so I thought I’d add the notes here.

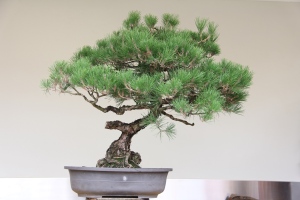
The following are the techniques that I use on JBP at this time of the year, having learnt them from Boon Manakitivipart.  I advocate finding someone with the best pine bonsai that you have seen, find out what they do, and do it diligently. If you try to follow everything everyone does, you will just get lost. Boon had the best pine bonsai that I had ever seen, now mine are getting better.

In Canberra, this work can be done anytime from mid-late Autumn (April-May) to when the buds are opening in spring (July-August). If you use these techniques too early the new ‘summer’ needles may be too soft and are very easy to snap off, even by brushing with your hand. Again, this work is not time imperative like decandling, it can be performed as long as the tree is dormant. It is better to wait for the needles to harden off than do it too early and have the tree’s health suffer.

The aim of this work is to clean up the tree for next spring. The tasks that we do are:

  • Old needle removal;
  • Bud selection; and
  • New needle reduction.


Before work begins

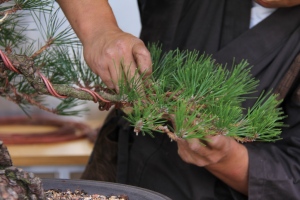
One of the first things to learn in pine care is how to handle the tree. We don’t come at the tree with fingers spread wide, ‘Poking’ at it. Treat a pine like you would pat a dog, with the lay of the needles (fur). Use your tweezers to get into the tree, lay the needles down and make space for your hands. This avoids bending the needles, and causing them to snap. The needles will look fine, but in 2 weeks they will brown off and die. Learning the proper handling techniques is about respecting your tree.

Another tip for pine work is to spray a fine mist of water on the needles before you start working. This will reduce the amount of sap that will get stuck to your fingers and tools.


Old needle removal

This consists of removing last year needles. The idea is to let more light and air into the interior of the tree, stimulating back budding. Without back budding, the tree will get leggier and leggier.

We remove the old needles to promote adventitious buds. Adventitious buds are buds that break without needles being present, that is, on bare wood. We preference adventitious buds over needle buds because they can break along the entire length of the branch, needle buds will only ever break as far in as the needles go. Saying this, if you have needle buds close to the trunk, do not remove them, eventually you may cut back to this point to induce more taper in the branch. It is highly unlikely that you will get adventitious buds on the trunk, so don’t count on it.

The technique

  • Firstly, when removing needles, start at the top of the tree and work down. As you work down the tree, the needles that you remove will stack on the lower part of the tree. As you continue, you will clean these needles off the tree. If you start at the bottom and work up, you will then have to go back and clean the entire tree of stacked needles.
  • Remove all needles from the past spring, leaving only summer needles, and needles on weak interior buds.
  • The way to tell a spring needle from a new summer needle, is the generally colour and length, but also the way it is growing. If it comes out almost straight from the branch it’ll be an older needle. Spring needles may be shorter and a brighter green.

Note: This picture details a tree that hasn’t be decandled

  • A tip to ensure that you do not miss any old needles is to work systematically. Start at the left hand side of a branch and work to the right, this will reduce the chance of missing any old needles.


Bud selection

After decandling, we usually get between 1-4 buds. During summer we leave them to grow uninterrupted all season so no one bud gets excessively strong. Now is the time to thin back to 2 buds. We thin back to 2 buds to avoid excessive thickening, the same as in all bonsai, we want to avoid reverse taper.

The technique:

  • Depending on the size of the tree, I mentally divide the tree into three sections. The top is the strongest, the middle and lower exterior is of mid strength, and the interior is weakest.

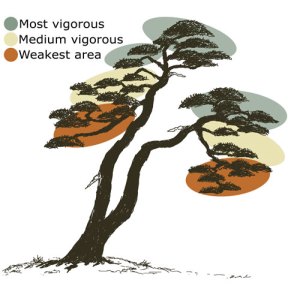
  • Select buds that are growing left and right, and remove buds that grow up and down;
  • Keep weaker buds in the strong top section of the tree, and the strongest buds in bottom and interior of the tree.


New needle reduction

Once we have completed old needle removal, and bud selection, we move onto new needle reduction. This task is again used to even out the comparative strength of different areas on the tree. We pull needles in areas that we do not want budding, for example the bottom of the branch.

The technique:

  • We remove upward and downward growing needles, preference side-to-side growing needles.
  • We remove more needles in stronger areas of the tree, and remove fewer needles in weaker areas of the tree.
  • The number of needles kept on each bud depends on the vigour of the tree, on strong trees take more, on weak trees take less, but a rule of thumb is:
    • 7-10 pairs on the top, that is the strongest part;
    • 10-15 pairs on the middle/bottom of the tree, the weaker parts; and
    • All needles on the interior and very weak parts.
    • If you encounter a pair of buds, one significantly bigger than the other, take more needles from the larger one.
    • If you plan to wire the tree, leave a few extra pairs of needles on it, because no matter how hard we try, we will break some when we wire.


Additional Resources for Pine work

If you are after additional information on the seasonal techniques used in Japanese Black Pine care, I recommend Boon Manakitivipart’s DVD series in the subject. This four part series outlines all of the necessary care techniques for growing great Japanese Black Pine bonsai. The DVDs can be purchased from me (Australian readers) or at www.bonsaiboon.com
← Older posts

Links

  • AusBonsai.com
  • bjorvala bonsai studio
  • Bonsai Boon
  • Bonsai Tonight
  • Boon's DVD series
  • Capital Bonsai
  • Crataegus Bonsai
  • Happy Potter's Blog
  • Japanese Bonsai Pots Blog
  • Nichigo Bonsai
  • Peter Tea Bonsai
  • ReelBonsai
  • Sam and KJ's Suiseki Blog
  • Saruyama Bonsai
  • Tyler Sherrod Bonsai
  • Yorozu-en

About the author

My name is Scott Roxburgh and I am a bonsai enthusiast from Canberra, Australia. I have been studying bonsai for 7 years and more recently under Boon Manakitivipart. My favourite species are Japanese and Trident Maples, Japanese Black Pine, Shimpaku, and Satsuki Azalea. Email me at scottroxburgh@hotmail.com
Meta

  • Register
  • Log in
  • Entries feed
  • Comments feed
  • WordPress.com
Blog at WordPress.com.

Privacy & Cookies: This site uses cookies. By continuing to use this website, you agree to their use.
To find out more, including how to control cookies, see here: Cookie Policy
  • Follow Following
    • Aijou Bonsai
    • Join 38 other followers
    • Already have a WordPress.com account? Log in now.
    • Aijou Bonsai
    • Customize
    • Follow Following
    • Sign up
    • Log in
    • Report this content
    • View site in Reader
    • Manage subscriptions
    • Collapse this bar
 

Loading Comments...